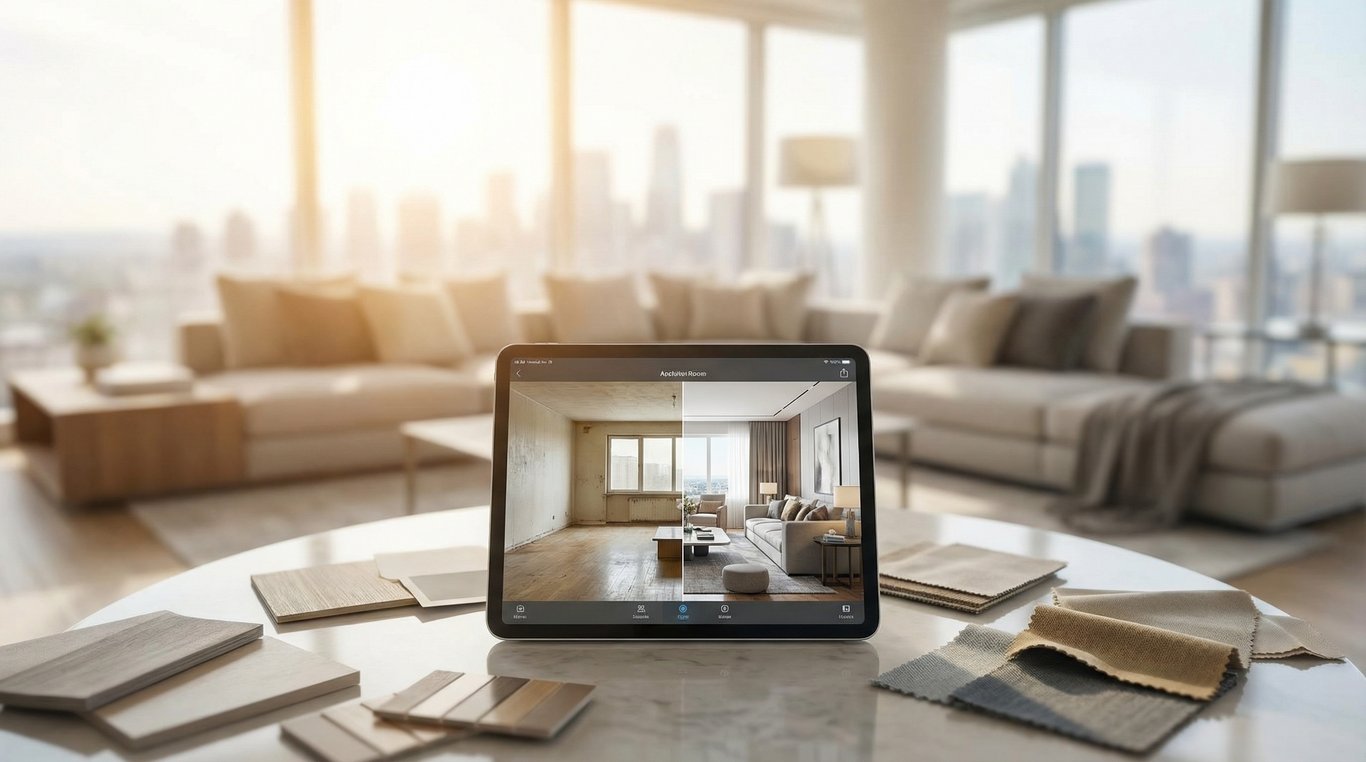
If you’re shopping for an interior design app to improve listing photos, you’re not really looking for generic decor inspiration—you need a repeatable way to create believable “after” visuals that help buyers understand space and value.
The right app can turn empty, dated, or hard-to-imagine rooms into listing-ready images fast, without the cost and scheduling friction of traditional staging. But in real estate, the bar is different: consistency across the whole listing set, output requirements for MLS/portals, and clear rules about what you can (and should) change.
This guide explains what to look for, how to use it in a listing workflow, and what mistakes to avoid so your images build trust instead of raising red flags. If you want broader product comparisons, start with our roundup of the best interior design apps.
Who needs an interior design app in real estate (and what problem it solves)
An interior design app (especially one built for AI visualization) is most valuable when your marketing problem is “buyers can’t picture it” rather than “the property is objectively unlivable.” It’s a visual communication tool: it reduces uncertainty, increases engagement, and helps your listing stand out.
Empty rooms that don’t photograph well
Empty rooms often look smaller, colder, and harder to interpret in photos. A staging-style “after” image can:
- Define scale (so buyers can see a sofa fits)
- Establish function (e.g., “this is a dining area”)
- Add warmth without changing permanent features
For agents, this is usually the fastest win: keep walls/floors as-is and add furniture + lighting + decor to show livability.
Outdated finishes that hurt perceived value
Dated fixtures and finishes can anchor buyer expectations to renovation cost. A renovation-visualization “after” can show a realistic direction (not a promise) for:
- Cabinet refacing vs full replacement
- Countertop material options
- Updated lighting and hardware
This is where “house design computer software” features matter—materials, surfaces, and edit controls—not just furniture overlays.
Speed needs: listing timelines vs traditional staging
Traditional staging can be excellent, but it’s time-intensive: consults, rentals, delivery/pickup, and coordinating access. When you need images in 24–72 hours, an interior design app can support:
- Pre-list marketing to test positioning
- Faster photo refreshes after price adjustments
- Multiple style variants for different buyer segments
Interior design app vs virtual staging vs 3D rendering: what’s the difference?
These terms overlap in everyday use, but they lead to different deliverables and expectations.
An interior design app is the umbrella: tools that help you visualize layouts, decor, and sometimes finishes. A virtual staging app is specifically about creating an “after” image from a real room photo. 3D rendering typically means building a modeled scene (more control, more time) that may not start from a photo.
To understand where an AI decorating app fits, think in terms of output: quick photo edits (2D) vs modeled assets (3D).
When a 2D ‘after’ image is enough
Use a 2D after image (virtual staging / AI visualization) when:
- You’re improving presentation, not redesigning architecture
- The goal is click-through rate and showing potential
- You need multiple rooms done quickly and consistently
Typical examples:
- Empty living room → staged with neutral furniture
- Bedroom → add bed + rug + lamps (keep walls/windows)
- Awkward nook → show it as an office corner
When you need 3D rendering or floor plans
Consider 3D rendering or floor plans when:
- Layout is the issue (walls moving, open concept, additions)
- You must show how spaces connect (flow matters more than decor)
- You need precise dimensions and buyer orientation
If your content needs true 3D context, read what is a digital media renderer and the deeper comparison on digital media renderer vs 3D rendering.
When floor plans are the missing piece, a dedicated tool can outperform image-only apps—see our guide to a floor planner for real estate agents.
Common terminology buyers/agents use
Expect these phrases (and set expectations accordingly):
- “Virtually staged”: furniture/decor added to a real photo
- “AI-enhanced”: broader edits using AI (may include finish changes)
- “Renderings” / “concept images”: could be 3D modeled or heavily edited
- “Renovation visualization”: surfaces/fixtures updated to show potential
In listing remarks and marketing, clarity matters: “virtually staged” is usually the most widely understood.
Key features to look for (real-estate specific checklist)
If you’re comparing home design software, you’ll see many “nice-to-have” creative features. For listings, focus on what makes output believable, consistent, and compliant.
For a broader set of alternatives (especially if you also need planning tools), see computer software for home design (real estate use cases).
Photorealism and consistency across a listing set
Checklist:
- Lighting and shadows that match the room’s direction
- Realistic scale (no tiny sofas or oversized art)
- Consistent camera perspective (no warped geometry)
- A “set” look across rooms (same design language)
Tip: Ask whether the app supports style presets you can reuse across multiple photos to keep a cohesive vibe.
Style controls (modern, organic modern, neutral staging palettes)
Real estate “safe” styles tend to convert best:
- Neutral staging (warm whites, light oak, black accents)
- Modern / contemporary (clean lines, minimal clutter)
- Organic modern (soft textures, plants, curved forms)
The app should let you control style without overfitting a trend that could alienate buyers.
Room type coverage (living, kitchen, bath, bedroom)
At minimum, your interior design app should support:
- Living room
- Primary bedroom
- Kitchen
- Bathroom
Nice-to-have for higher-end or unique properties:
- Dining room
- Office/den
- Outdoor/patio
- Bonus rooms (basement, flex spaces)
If an app performs well only in living rooms but struggles in kitchens/baths (complex surfaces), it may be better suited for light staging than renovation visualization.
Edit controls: keep architecture, change furniture/finishes
Look for controls that protect what must remain true:
- “Preserve architecture” or similar locking/masking
- Selective editing (replace sofa without changing windows)
- Finish swaps that don’t alter room layout (floors, cabinets, counters)
This is where many “house design computer software” tools differ: some are great at furniture placement but unreliable at finish realism.
Output size/quality for MLS and portals
Practical requirements to verify:
- Export at high resolution (enough for portal zoom and full-screen)
- Consistent aspect ratios across variants
- Compression that doesn’t create banding or noise in shadows
Even the best “after” image underperforms if it looks soft or artifacted on Zillow/Redfin-style interfaces.
Commercial usage rights / licensing considerations
Before you publish:
- Confirm commercial usage is allowed for marketing listings
- Understand who owns the generated images (you, agent, brokerage)
- Check whether attribution is required
Also plan for disclosure language. Many MLSs, brokerages, or local rules require you to label virtually staged or AI-enhanced photos. When in doubt: disclose.
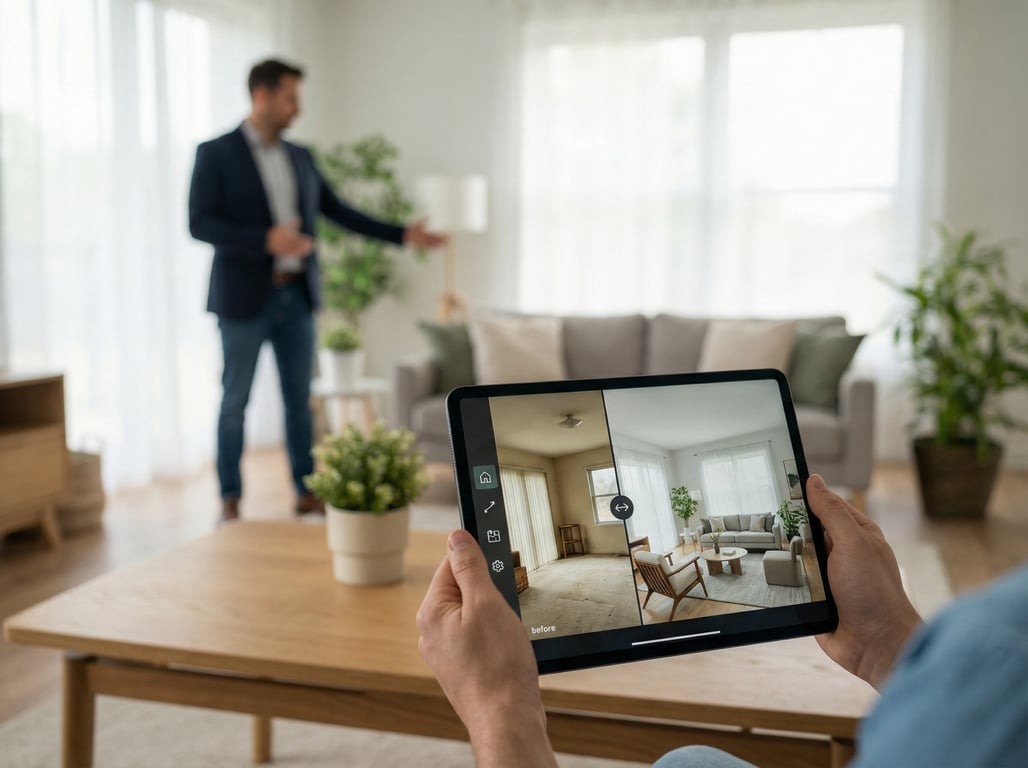
Workflow: turning listing photos into ‘after’ visuals (practical steps)
A simple workflow helps you create repeatable results across many listings—especially if you’re producing content for multiple agents.
If you’re testing tools before you buy, this companion guide can help: AI room design free (for real estate).
Photo capture tips to improve results (lighting, angles, declutter)
Your output quality starts with your input photo. Use these capture rules:
- Shoot at chest height (about 4–5 feet) to avoid distortion
- Keep vertical lines straight (use gridlines)
- Turn on lights and open blinds for even exposure
- Declutter aggressively (remove cords, bins, small appliances)
- Capture corners for depth, not flat walls
If the room is occupied, aim for “clean but real,” not “perfect.” The app can add decor, but it can’t reliably fix messy reflections and heavy occlusions.
Pick the goal: staging vs renovation visualization
Decide what you’re trying to communicate:
- Staging goal: add furniture/decor while keeping floors, walls, cabinets, and windows unchanged.
- Renovation goal: update finishes/fixtures to show potential (clearly labeled as a concept).
For listing photos, staging-style outputs are usually lower risk because they don’t imply permanent improvements.
Create 3–5 variants for A/B testing in marketing
Instead of making one “perfect” image, create variants you can test:
- Style A: neutral modern
- Style B: organic modern
- Style C: slightly more traditional
Use them as:
- Instagram/FB carousel before/after
- Listing presentation deck slides
- Email campaign hero image tests
Keep variants consistent within a room, and don’t mix wildly different styles across adjacent photos in the listing gallery.
Real-estate use cases (with example scenarios)
Here are high-intent ways agents and renovation pros use home design software and computer software for home design—not as a hobby, but to close deals.
Pre-list: propose cosmetic updates without renovating
Scenario: Seller has dated finishes but doesn’t want to renovate.
Use an interior design app to create:
- “As-is, decluttered” photo
- “After: staged” photo (same finishes)
- Optional “After: light refresh concept” (paint + lighting + hardware)
This supports pricing conversations: you can show how presentation changes perception without claiming the upgrades are completed.
Renovation pros: show scope options to clients
Scenario: Contractor or designer is bidding on a light remodel.
Create 2–3 options:
- Budget: refacing + new counters
- Mid: new cabinets + LVP flooring
- Premium: custom cabinetry + lighting plan
These visuals reduce misunderstanding and keep clients aligned on scope.
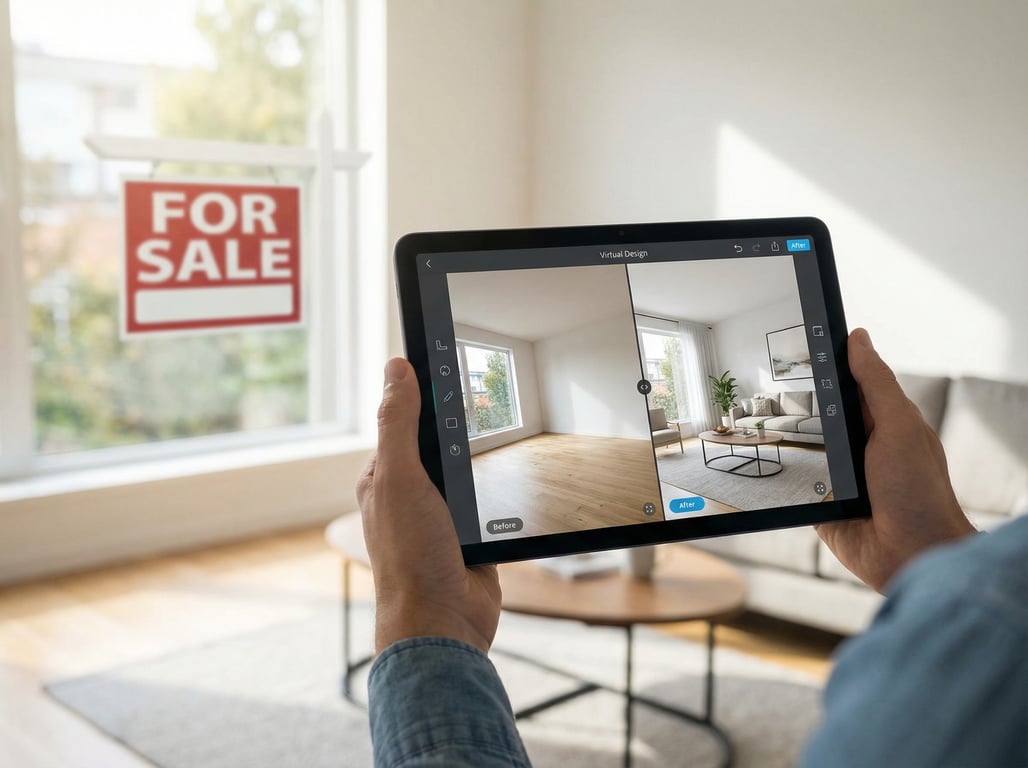
Agents: improve CTR with before/after carousels
Scenario: You need more clicks and saves on a listing.
Tactic:
- Lead image: best “after” staged living room
- Slide 2: “before” (same angle)
- Slide 3–5: another key room’s before/after
Before/after content can outperform standard photos on social because it tells a story in one swipe.
What to avoid (mistakes that create distrust)
The fastest way to lose buyer trust is to make images that feel deceptive, inconsistent, or obviously synthetic.
Over-editing that misrepresents permanent features
Avoid changing:
- Window size/placement
- Ceiling height
- Room dimensions and layout
- Views from windows
- Structural elements (fireplace moved, columns removed)
If you’re visualizing a renovation that involves structural changes, treat images as “concept renderings” and label them clearly.
Inconsistent styles room-to-room
Inconsistency signals “AI gimmick” and breaks the buyer’s mental model of the home.
Fix it by:
- Picking one style direction per listing
- Reusing the same palette and material cues
- Keeping furniture scale similar across rooms
Failing to label as virtually staged / AI-enhanced where required
Even if your jurisdiction or MLS rules vary, a safe best practice is to disclose when images are virtually staged or AI-enhanced.
Practical approach:
- Add “Virtually staged” on the image label/caption where appropriate
- Mention it in listing remarks if required by your MLS/brokerage policy
- Keep original photos available (and consider including at least one “before”)
Key takeaways
- Position the topic as real-estate marketing/renovation visualization (not generic interior design).
- Include a selection checklist geared to agents/homeowners/renovation pros (audience fit with product context).
- Add a short compliance note: disclose virtually staged/AI-enhanced images as required (no jurisdiction-specific claims).
- Use internal links to existing related posts to build topical authority and reduce cannibalization.
FAQ
What’s the difference between an interior design app and virtual staging?
An interior design app is a broad category (planning, decor, visualization). Virtual staging is a specific use case: creating a realistic “after” image from a real listing photo, typically by adding furniture and decor.
Do I need floor plans if I’m using an interior design app for listings?
Not always. If buyers mainly need help picturing furniture and function, staged photos can be enough. Floor plans become more important when layout, flow, or room relationships are unclear—especially in unique homes or multi-level properties.
How do I take listing photos that work best for AI visualization?
Shoot with straight verticals, even lighting, and minimal clutter. Use wide but not extreme angles, capture corners for depth, and avoid heavy reflections/obstructions that hide walls, floors, or key architectural edges.
Should I disclose AI-enhanced images in a real estate listing?
Yes as a best practice, and often as a requirement depending on MLS/brokerage rules. Disclosure helps prevent buyer distrust and keeps marketing aligned with compliance expectations.