
“Inside design” is often used as a casual shorthand for interior design, but in real estate it can be treated as a specific goal: making interiors photograph better and sell faster.
This guide defines inside design in a listing context, then walks through changes that read well on camera, a room-by-room prep checklist, and when to use an interior decorator, an interior design app, or AI visualization.
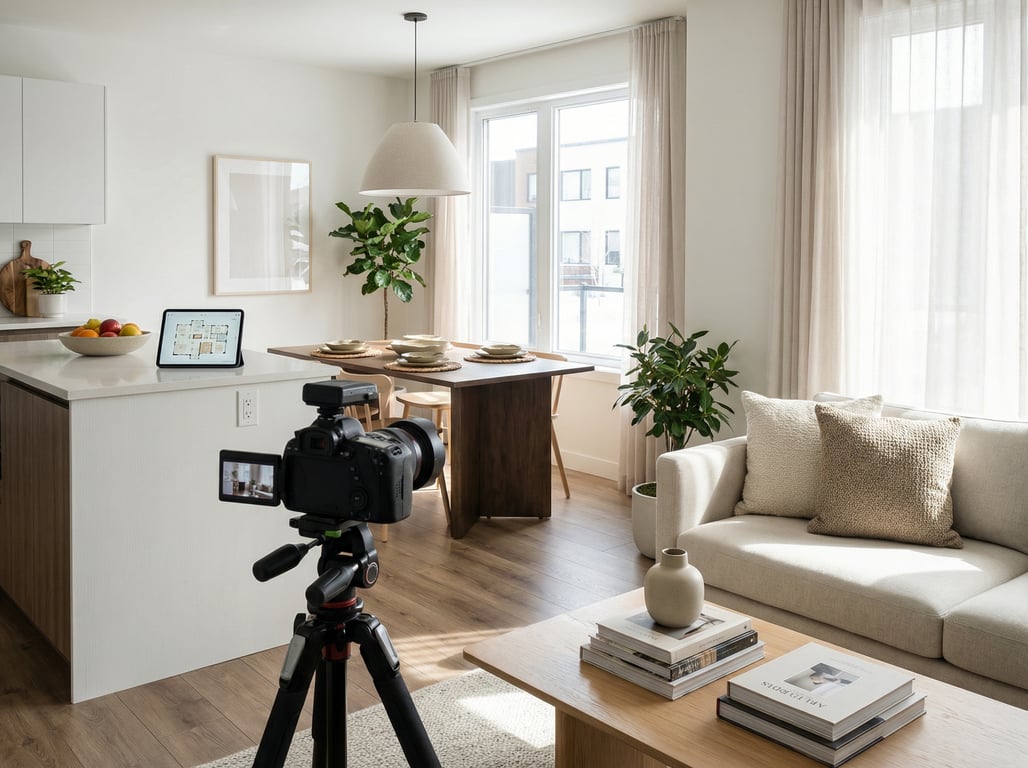
If you’re trying to improve listing photos without a full renovation, focus on fixes that increase brightness, reduce visual noise, and clarify how each space functions.
What does “inside design” mean?
Inside design means shaping a home’s interior look and layout to communicate space, light, and livability—especially in photos—using design choices like color, furniture scale, lighting, and styling. In real estate, the emphasis is less on personal taste and more on broad buyer appeal and clear room function.
Why people search “inside design” vs “interior design”
Most people aren’t searching for a strict industry term. They’ll type “inside design” when they mean:
- Interior decorating (styling and furnishings)
- Interior design (layout, finishes, minor remodeling)
- Tools for planning rooms (apps, floor planners, renderings)
For listing preparation, it’s useful to treat “inside design” as photo-first interior decisions: what will look clean, bright, and proportional in wide-angle shots.
Quick definition for homeowners, agents, and renovators
- Homeowners: quick changes that make your home feel calmer and more spacious in pictures.
- Agents: repeatable prep steps to reduce days-on-market risk and improve click-through on listing portals.
- Renovators: finish choices that read premium on camera and reduce “dated” signals.
Inside design goals that matter for listings (not just aesthetics)
Make rooms feel larger and brighter
Listing photos reward light and openness. Prioritize:
- Daylight access (open treatments, clean windows)
- Consistent bulb color temperature (avoid mixed warm/cool)
- Clear walk paths (less “pinball” furniture placement)
- Fewer small objects that shrink perceived scale
A simple rule: if a detail won’t be noticed at thumbnail size, it’s often clutter.
Create a neutral-but-premium style that broadens buyer appeal
The goal isn’t bland—it’s “easy to imagine living here.” A dependable approach:
- Warm neutrals + natural textures + one restrained accent
- Repeated metals (e.g., all matte black or all brushed nickel) to avoid visual mismatch
- A few larger decor pieces instead of many small ones
Paint strategy matters here. If you’re choosing neutrals for staging, see examples like taupe interiors for home staging to keep warmth without going dark.
Show functional use of awkward spaces
Buyers hesitate when they can’t label a space.
- Turn “dead corners” into a reading nook (chair + lamp + small table)
- Add a slim console or hooks to clarify entry function
- In split-level/tri-level homes, stage landings so they feel intentional, not leftover
In photos, function should be obvious within 1–2 seconds.
Before/after: 7 inside design changes that show up best in photos
These are high-visibility moves that tend to produce obvious before/after differences.
Lighting & color temperature
- Use matching bulbs across visible fixtures (commonly 2700–3000K for warm, 3500K for neutral)
- Add light sources in dark corners (floor lamp beats harsh overhead)
- Replace mismatched lampshades; keep shades simple and light-colored
Before/after cue: fewer yellow/blue patches in the same image.
Wall color and contrast (light walls, darker accents)
- Light walls lift exposure and reduce grain in photos
- Keep contrast controlled: one darker accent (art, pillows, a single feature) adds depth
- Avoid strong colors that reflect onto skin tones and cabinets
If repainting isn’t possible, swap in lighter textiles and art to “fake” brightness.
Decluttering and simplified surfaces
Think in layers:
- Remove personal items (photos, kids’ art, toiletries)
- Reduce countertop items to 2–3 grouped pieces
- Hide cords, remotes, pet gear
Before/after cue: more negative space on horizontal surfaces.
Furniture scale and layout
- Too-large furniture makes rooms feel smaller; too-small makes them feel cheap
- Float furniture when possible to show floor area and walk paths
- In tight rooms: fewer pieces, but larger (one rug, one sofa, one table) rather than many small items
A common fix: pull sofa and chairs 2–6 inches off the wall to add dimension.
Textiles and layering (rug/curtains/bedding)
Textiles add “soft luxury” that cameras pick up quickly.
- Use a properly sized rug (front legs of seating on the rug)
- Hang curtains high and wide to make windows look larger
- On beds: crisp base, then 1–2 layers (throw + pillows), not a pile
Before/after cue: rooms look finished, not echoey.
Material upgrades that read on camera (hardware, fixtures)
Small swaps can look like a mini-renovation:
- Consistent cabinet pulls/knobs
- Updated faucet or light fixture in high-traffic rooms
- New switch plates and outlet covers (cheap, but noticeable)
Pick one finish family and repeat it to avoid a “patchwork” look.
Curb-to-interior consistency (entryway first impression)
The first interior photo often sets the tone.
- Clear the entry floor; add a simple runner
- One statement mirror or art piece (not multiple small frames)
- Match your interior vibe to the exterior expectations (don’t go ultra-industrial inside a cottage)
Room-by-room inside design checklist for faster prep
Use this as a fast “photo readiness” list.
Living room
- Remove extra side tables and small stools that crowd walk paths
- Center a large rug and align furniture to it
- Add one “anchor” element (large art or mirror)
- Hide TV clutter (consoles, cables, gaming accessories)
If you want a listing-friendly style direction, borrow a simple palette and texture plan from organic modern living room ideas for listings.
Kitchen
- Clear counters (keep: one tray, one plant, one neutral soap set)
- Replace burned-out bulbs and match color temperature
- Remove fridge magnets and papers
- Straighten stools and align to island
- Add one bowl of fresh fruit or a cutting board set (minimal)
Primary bedroom
- Use white or light bedding as the base
- Add symmetry (matching lamps or matching nightstands if possible)
- Remove laundry baskets, chargers, and excess pillows
- Leave at least one side of the bed accessible and visible
Bathroom
- Remove all toiletries (yes, all) from counters and shower ledges
- Fresh white towels; one neutral accessory (tray or plant)
- Close toilet lid; hide trash can if possible
- Clean mirrors and chrome to reduce spotting in flash/bright light
Empty rooms and tricky layouts (split-level / tri-level)
Empty rooms often photograph smaller and more confusing.
- Define purpose with 2–3 items (e.g., desk + chair + lamp)
- Use a rug to “draw” a zone
- For split-levels: stage the landing with a runner + art so it reads like a transition, not a leftover space
Tools: when to use an interior decorator vs an interior design app
Decorator vs designer: typical deliverables and timelines
Use this quick comparison for listing prep:
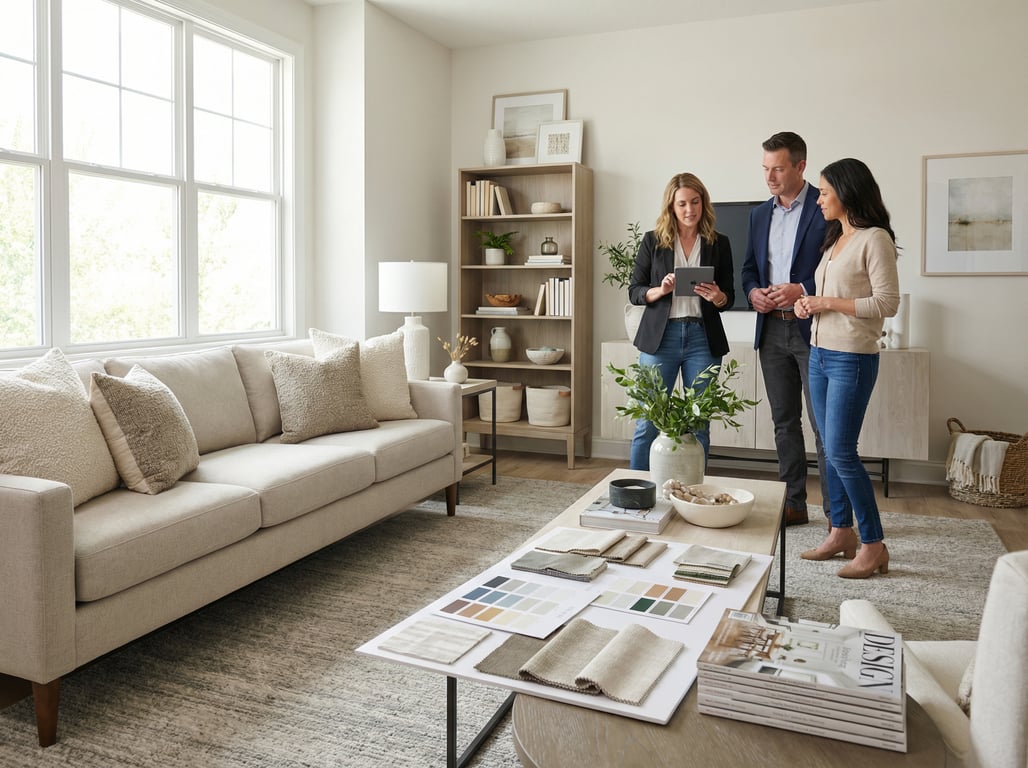
Interior decorator (best for speed):
- Deliverables: styling plan, furniture/accessory selections, staging layout, shopping list
- Timeline: days to 1–2 weeks
- Ideal for: occupied homes, “good bones” properties, photo-first refreshes
Interior designer (best for finish decisions):
- Deliverables: layout changes, finish specs, lighting plans, contractor coordination
- Timeline: weeks to months
- Ideal for: pre-list renovations, layout problems, higher-budget repositioning
When software is enough (concepting, layout, style tests)
An interior design app can be sufficient when you:
- Need to test furniture scale and spacing quickly
- Want to try 2–3 style directions before spending money
- Are planning minor changes (paint, rugs, lighting) rather than construction
If you’re comparing options, start with this curated roundup of best interior design apps.
What to look for in computer software for home design for real-estate visuals
Not all computer software for home design is optimized for listing photos. Prioritize:
- Realistic lighting controls (daylight, warm vs neutral bulbs)
- Wide-angle camera views that mimic real estate photography
- Material libraries that look believable (wood grain scale, tile size, metal finishes)
- Easy room measurement input (so furniture scale isn’t wrong)
- Export options sized for MLS and listing portals
If you’re exploring more formal visualization, it helps to understand how a digital media renderer for real estate differs from quick app mockups.
AI visualization for inside design: how to evaluate results for credibility
AI can help you explore “what if” versions of a room, especially for vacant listings or to test multiple styles fast. An AI decorating app can be useful for ideation, but credibility matters in real estate marketing.
Realism checks (shadows, perspective, materials)
Before using AI visuals anywhere client-facing, check:
- Shadows: do they match the window direction and time of day?
- Perspective: do lines converge correctly, especially around cabinets and door frames?
- Materials: are wood grains consistent, and do tiles repeat unnaturally?
- Scale: are chairs, beds, and counters human-proportional?
A good test: zoom in 200% and look for “melted edges” around handles, lamps, and trim.
Disclosure/ethics for listing marketing
Rules vary by MLS and brokerage policies. A safe baseline:
- Label AI images as “virtually staged” or “rendered concept” where required
- Keep original photos available for transparency
- Avoid presenting conceptual renovations as existing conditions
When in doubt, ask your MLS and broker for written guidance.
Avoiding misleading representations (keep structure consistent)
To keep inside design visualization honest:
- Don’t move walls, windows, or ceiling heights
- Don’t add features that change value materially (e.g., fireplace, skylights) unless clearly disclosed
- Keep fixed elements consistent: cabinetry footprint, appliance locations, bathroom layout
Use AI to show style and furnishing options, not imaginary architecture.
Key takeaways
- Clarify the term “inside design” and map it to interior design concepts.
- Keep guidance anchored to listing outcomes: photo-readability, buyer appeal, speed-to-market.
- Include practical, low-cost changes that produce visible before/after improvements.
- Position tools neutrally: pro decorator for high-stakes listings; apps/AI for rapid iterations and options.
- Add credibility guidance for AI images (realism checks, disclosure).
FAQ
Is “inside design” the same as interior design?
In most searches, yes—people mean interior design or decorating. For real estate, “inside design” is best treated as photo-first interior choices that improve listing images and buyer appeal.
What inside design changes increase home value vs just look better?
Value tends to come from durable improvements buyers price in (lighting upgrades, cohesive fixtures/hardware, fresh neutral paint). Styling changes (decluttering, textiles, decor) usually boost perceived value and marketability more than appraised value.
Should I hire an interior decorator before listing a home?
Hire an interior decorator when the home is occupied, time is short, and you need a clear plan for furniture layout and styling that photographs well. If the home needs layout or finish changes, consider a designer instead.
Can AI interior design images be used in MLS listings?
Sometimes, but policies vary. If allowed, label them as virtually staged/rendered, avoid structural changes, and keep representations consistent with the real property.
What’s the fastest way to improve listing photos without renovating?
Standardize lighting color temperature, declutter surfaces, simplify furniture layouts, add one large rug per main room, and use light/neutral textiles. These changes show up immediately in wide-angle photos.